
Sourdough Ciabatta
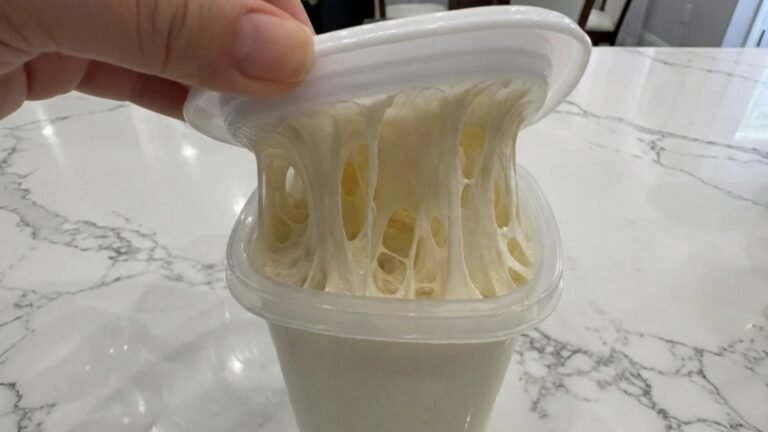
This dough is alive in a way most of my other doughs aren’t – wet, wiggly, and honestly a little unruly to work with. But that’s exactly what gives ciabatta its crunchy crust and wide-open, airy crumb. It takes about 80% hydration to get there, higher than my regular sourdough loaf, so go in expecting a loose, wiggly dough and don’t fight it too much.
Why You’ll Love It
- Crunchy, crackly crust with a soft, open, airy crumb
- Higher hydration than a standard loaf, built for that classic ciabatta texture
- Bakes on a pizza stone with a steam bath for a better rise
- Portions into 4 rustic rectangles or 8 smaller squares
- Freezes beautifully, pre-sliced and ready to go
Ingredients & Equipment
Volume measurements are included for convenience, but they’re approximate – a kitchen scale will always get you a more consistent dough, especially for the flour.
- Active sourdough starter (120 g / ½ cup): make sure it’s bubbly and at its peak before you start
- Water (400 g / 1⅔ cups): this is a high-hydration dough, about 80%, noticeably wetter than a standard loaf
- High-protein bread flour, 12-14% protein (500 g / 4⅛ cups): Caputo Chef 00 works well, though any high-protein bread flour will do
- Fine sea salt (11 g / 2 tsp): added after the first half of the flour
Equipment
- Kitchen scale
- Large mixing bowl: for mixing and for the stretch and fold (or coil fold) stage
- Bread whisk or sturdy mixing spoon: for combining the ingredients
- Shower cap or reusable bowl cover: to keep the dough from drying out while it rests
- Rectangular glass baking dish: the dough moves here after the folds to bulk ferment, which makes it much easier to handle and cut once it’s doubled
- Bench scraper: for dividing the dough and moving the pieces without deflating them
- Pizza stone: for baking – preheat it for 45 minutes before baking
- Second baking dish, for water: creates steam in the oven during the first part of the bake
- Parchment paper and a pizza peel: for transferring the dough pieces onto the hot stone
- Freezer-safe bags: for storing what you don’t eat right away
Sample Schedule (Same Day)
Same Day
- Dissolve the starter into the water and mix well
- Add half the flour and mix, then add the salt and the rest of the flour, mix well
- Cover and rest 30 minutes
- Do 4 rounds of stretch and folds (or coil folds), 30 minutes apart
- Move the dough into a rectangular glass baking dish to bulk ferment until doubled
- Flip out onto a heavily floured counter and divide into 4 rectangles or 8 squares
- Preheat the pizza stone at 475°F for 45 minutes
- Bake 10 minutes with a water bath in the oven, then remove the water and bake 5-10 more minutes
- Cool completely on a rack before slicing
Prefer an overnight cold proof instead? You can move the dough to the fridge after the folds and bake the next day – just plan for a longer wait once it comes out, since a cold dough this wet takes a while to finish rising.

Sourdough Ciabatta
Method
- Dissolve the starter. In a large bowl, dissolve the active starter (120 g / ½ cup) into the water (400 g / 1⅔ cups) and mix well.
- Mix in the flour and salt. Add half the bread flour and mix well. Add the salt (11 g / 2 tsp), then the rest of the flour, and mix everything together. This is an 80% hydration dough, so it will feel loose, wiggly, and much wetter than a standard loaf – that’s expected.
- Rest. Cover the bowl with a shower cap or reusable cover to keep the dough from drying out, and let it rest for 30 minutes.
- Stretch and fold, or coil fold. Do your first fold: for a regular stretch and fold, grab the dough at the edge of the bowl, pull it up, and fold it into the center, working your way around the bowl. Coil folds work better for this dough since it’s so loose and wiggly – slide both hands underneath the dough from the middle, lift it up, and let it fold under itself, then rotate the bowl and repeat around the edges. Cover and rest another 30 minutes. Repeat for a total of 4 rounds, 30 minutes apart.
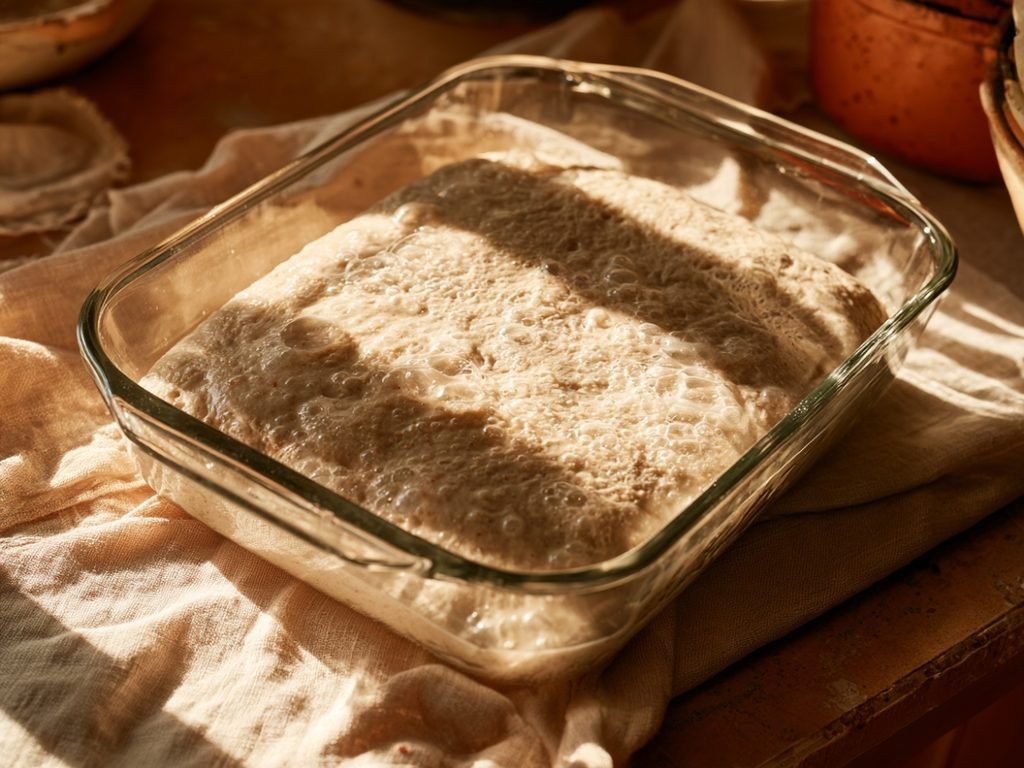
- Bulk ferment. Move the dough into a rectangular glass baking dish – this makes it far easier to handle once it’s fully fermented, and gives you a head start on the shape you’ll cut it into. Let it ferment until doubled. This dough is best baked the same day, since it can take a while to finish rising once it’s come out of a cold fridge.
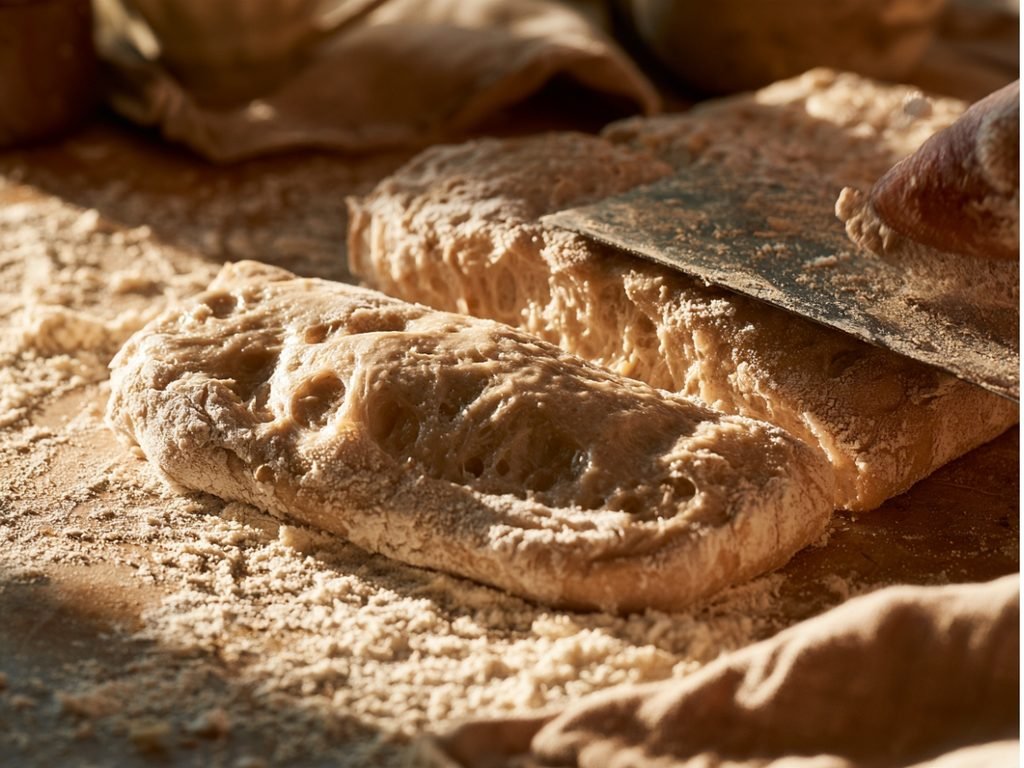
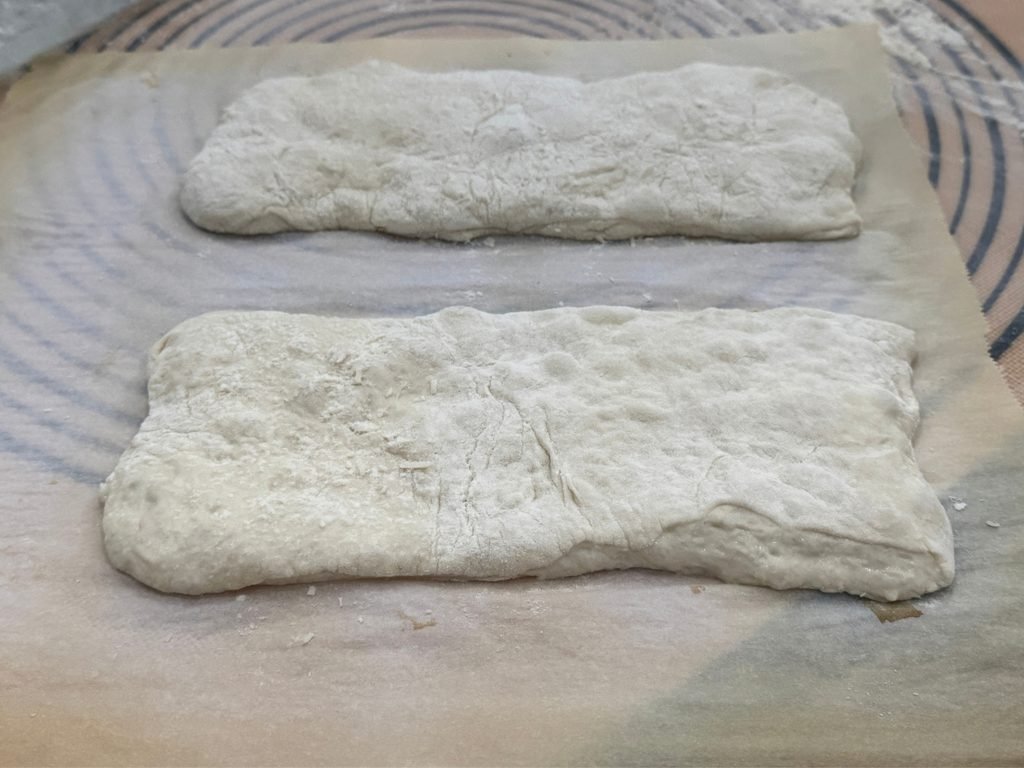
- Flip and divide. Flour the top of the dough heavily, then flip the whole dish out onto a well-floured counter. Flour the top again. Using a bench scraper, divide the dough into 4 rectangular pieces, or 8 smaller squares if you prefer. Handle it as little as possible – this dough is delicate and still wiggly at this stage, and you want to keep the air bubbles intact.
- Preheat. Preheat your oven to 475°F with the pizza stone inside for 45 minutes. Place a second baking dish filled with water on the rack below the stone.
- Transfer and bake. Gently move each piece with your bench scraper onto parchment paper, then use a pizza peel to slide the pieces, parchment and all, onto the hot stone. Bake 10 minutes with the water bath still in the oven – the steam helps the dough puff up. Remove the water bath and continue baking another 5 to 10 minutes, depending on how dark and crunchy you want the crust (closer to 5-7 minutes for a lighter crust, the full 10 for extra crunchy).
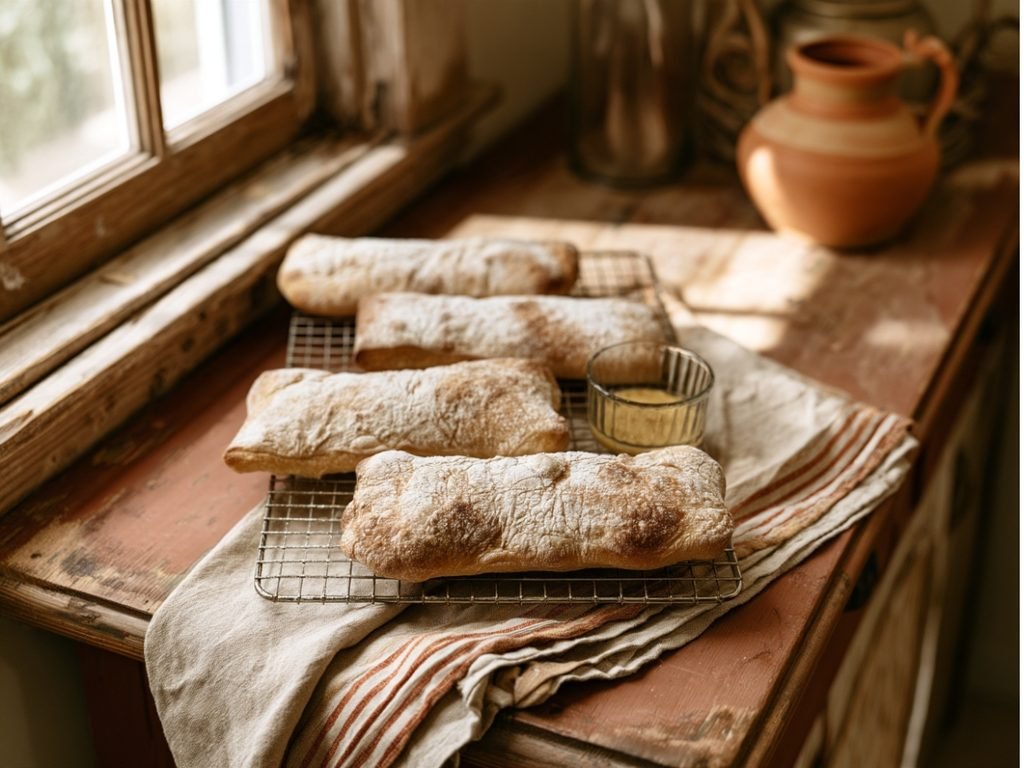
- Cool. Move the pieces to a cooling rack and let them cool completely before cutting in – they’ll be very crunchy on the outside and open and airy inside.
Video
Notes
Save This Recipe
Get it emailed to you now, plus new recipes as they go up.
Your email is safe with me. I’ll send this recipe straight over. No spam, ever—and you can unsubscribe anytime.
How to Make It
1Dissolve the starter. In a large bowl, dissolve the active starter (120 g / ½ cup) into the water (400 g / 1⅔ cups) and mix well.
2Mix in the flour and salt. Add half the bread flour and mix well. Add the salt (11 g / 2 tsp), then the rest of the flour, and mix everything together. This is an 80% hydration dough, so it will feel loose, wiggly, and much wetter than a standard loaf – that’s expected.
3Rest. Cover the bowl with a shower cap or reusable cover to keep the dough from drying out, and let it rest for 30 minutes.
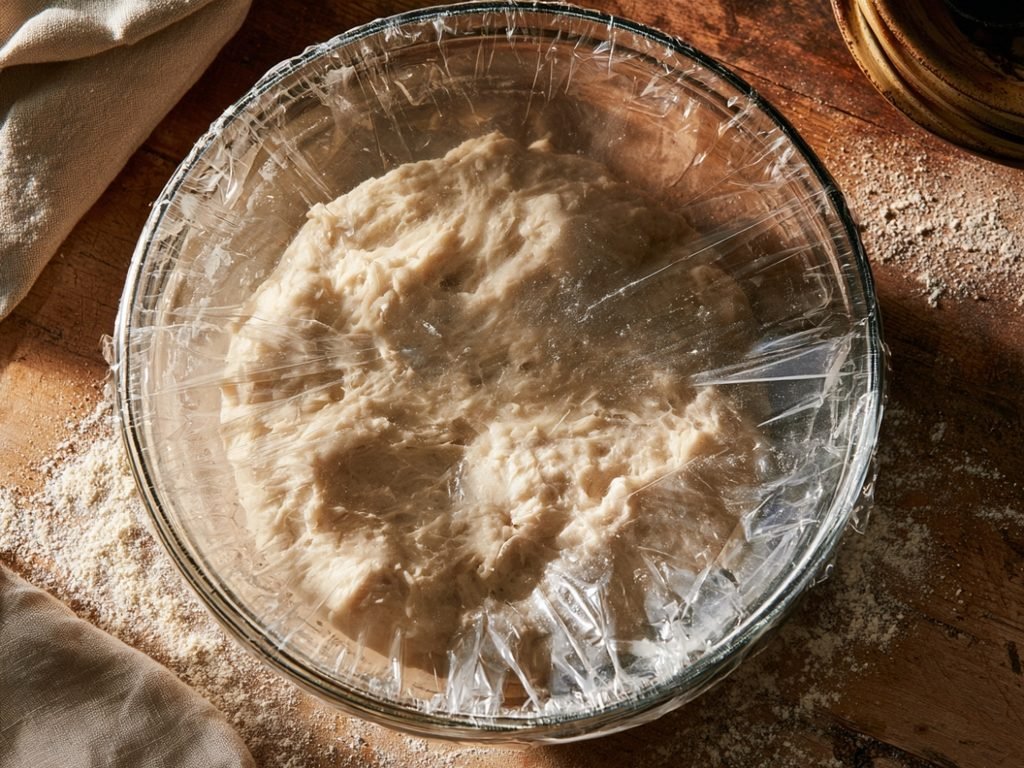
4Stretch and fold, or coil fold. Do your first fold: for a regular stretch and fold, grab the dough at the edge of the bowl, pull it up, and fold it into the center, working your way around the bowl. Coil folds work better for this dough since it’s so loose and wiggly – slide both hands underneath the dough from the middle, lift it up, and let it fold under itself, then rotate the bowl and repeat around the edges. Cover and rest another 30 minutes. Repeat for a total of 4 rounds, 30 minutes apart.
5Bulk ferment. Move the dough into a rectangular glass baking dish – this makes it far easier to handle once it’s fully fermented, and gives you a head start on the shape you’ll cut it into. Let it ferment until doubled. This dough is best baked the same day, since it can take a while to finish rising once it’s come out of a cold fridge.
6Flip and divide. Flour the top of the dough heavily, then flip the whole dish out onto a well-floured counter. Flour the top again. Using a bench scraper, divide the dough into 4 rectangular pieces, or 8 smaller squares if you prefer. Handle it as little as possible – this dough is delicate and still wiggly at this stage, and you want to keep the air bubbles intact.
7Preheat. Preheat your oven to 475°F with the pizza stone inside for 45 minutes. Place a second baking dish filled with water on the rack below the stone.
8Transfer and bake. Gently move each piece with your bench scraper onto parchment paper, then use a pizza peel to slide the pieces, parchment and all, onto the hot stone. Bake 10 minutes with the water bath still in the oven – the steam helps the dough puff up. Remove the water bath and continue baking another 5 to 10 minutes, depending on how dark and crunchy you want the crust (closer to 5-7 minutes for a lighter crust, the full 10 for extra crunchy).
9Cool. Move the pieces to a cooling rack and let them cool completely before cutting in – they’ll be very crunchy on the outside and open and airy inside.
Tips & Troubleshooting
- Dough feels impossible to handle: that’s normal for 80% hydration – resist the urge to add extra flour, it’ll cost you the open crumb.
- Coil folds versus stretch and folds: coil folds give you more control on a dough this wet – if you’re not familiar with the motion, it’s worth looking up a quick visual guide.
- Losing the air pockets: handle the dough as little as possible once it’s proofed, especially while dividing it – every extra touch knocks out air you worked to build in.
- Crust darkness: keep the extra 5-10 minutes flexible and pull the pieces when they hit the color you want.
How to Store
Fresh: let cool completely before slicing. Ciabatta is best eaten the day it’s baked.
Freezer: slice whatever you’re not eating right away in half, place in a freezer-safe bag, and freeze, so it’s ready to toast whenever you want it.
Nutrition
Per rectangle, based on 4 rectangles per batch. Estimated from the ingredients used – provided for convenience and not a substitute for a full nutrition label.
510
Calories
106g
Carbs
14g
Protein
2g
Fat
4g
Fiber
1080mg
Sodium
Desi’s Notes
This dough is genuinely hard to handle – wet, loose, and wiggly. That’s normal for 80% hydration; don’t add extra flour to fight it or you’ll lose the open crumb you’re after.
I recommend coil folds over regular stretch and folds here. The dough is so wiggly that coil folds give you more control and keep it from tearing.
I usually bake this the same day rather than doing an overnight cold proof. I’ve done the overnight version, but I don’t always have the patience to let it fully rise the next day, so same-day is my go-to.
Handle the dough as little as possible once it’s proofed. You want those big air pockets to survive into the oven, not get knocked out while you’re cutting it.
Before You Bake
Scaling this recipe up or down? Run your numbers through the Sourdough Calculator. And since this recipe lives and dies by crust and crumb, grab the Crumb & Crust Diagnostic Quicksheet for troubleshooting either one.
Knead to Know?
New recipes, baking tips, and sourdough troubleshooting — delivered before your starter even finishes its next rise.
Get the latest insights, no spam — just new recipes and baking tips. Unsubscribe anytime. See our Privacy Policy.




Tried this recipe? Leave a star rating below — it takes 10 seconds and helps other bakers decide what to make next.
Baked this recipe your way? Share it in Community Bakes and inspire other readers.